If you’ve ever wondered why some photos just glow, chances are they were taken during the golden hour. This magical time of the day soaks everything in a warm, soft light, making even the most ordinary scenes look extraordinary. It’s the secret behind dreamy portraits, breathtaking landscapes, and scroll-stopping travel shots.
Golden hour photography isn’t just a trend but a game-changer that can instantly elevate your photo from an average shot to a picture-perfect moment. The warm, soft light during these precious times creates a natural filter that enhances everything it touches, resulting in those dreamy, professional-looking shots we all crave.
So, what makes golden hour, with its warm, honey-like glow, the ideal moment for incredible photography? In this blog, we’ll explain why golden hour is the best time to capture photos, lighting techniques you need to master, and a few tips and tricks that will help you ace your next photography session.
What is the Golden Hour?
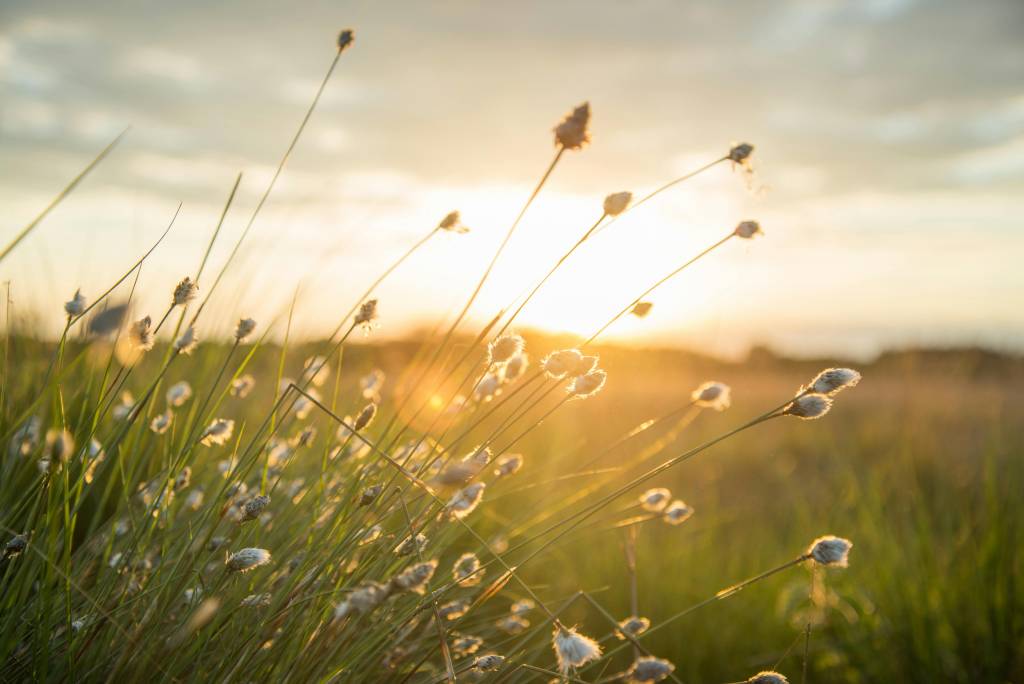
The golden hour, also called the magic hour by cinematographers and photographers, is that short time period after sunrise and before sunset. During this time, the sun is low on the horizon, and its light has a distinctly redder, softer, and more flattering quality than at any time of day. There’s something almost otherworldly about how this light transforms everything it touches.
But why is it called the magic hour? Because, honestly, everything just looks better! Landscapes pop, skin glows, and even the most ordinary scene gets a hint of cinematic charm. Photographers and cinematographers love this time to create dynamic, dreamy visuals that can’t be recreated during any other time of the day.
When the sun is low, its light travels through more of the Earth’s atmosphere, scattering blue light and letting warm reds and oranges shine through. This reduces harsh shadows and blown-out highlights, giving you a balanced, naturally diffused light that cameras love.
Just like the golden hour, there’s the blue hour as well, which sweeps in just before sunrise and after sunset, casting gardens, beaches, and cityscapes in a cool, serene blue, perfect for moody, dramatic shots.
Why is the Golden Hour Best for Perfect Photos?

So, what makes the golden hour so incredibly special? Here are the unique qualities of golden hour light that make it ideal for photography:
- The Light is Directional: During golden hour, you’re working with beautifully directional light that comes from a low angle. This creates dimension and depth in your photos, making flat subjects suddenly pop with character and interest.
- The Light is Softer: This type of light produces less contrast, reducing the chances of losing parts of your subject in strong shadows or blown-out highlights. It’s like having that perfect and even illumination that photographers spend hours trying to recreate in studios.
- The Light is Warm: The characteristic colour palette of golden hour includes yellow, oranges, and reds, all warm colours that evoke positive feelings such as happiness, excitement, and optimism. Your photos instantly feel more inviting and emotionally engaging.
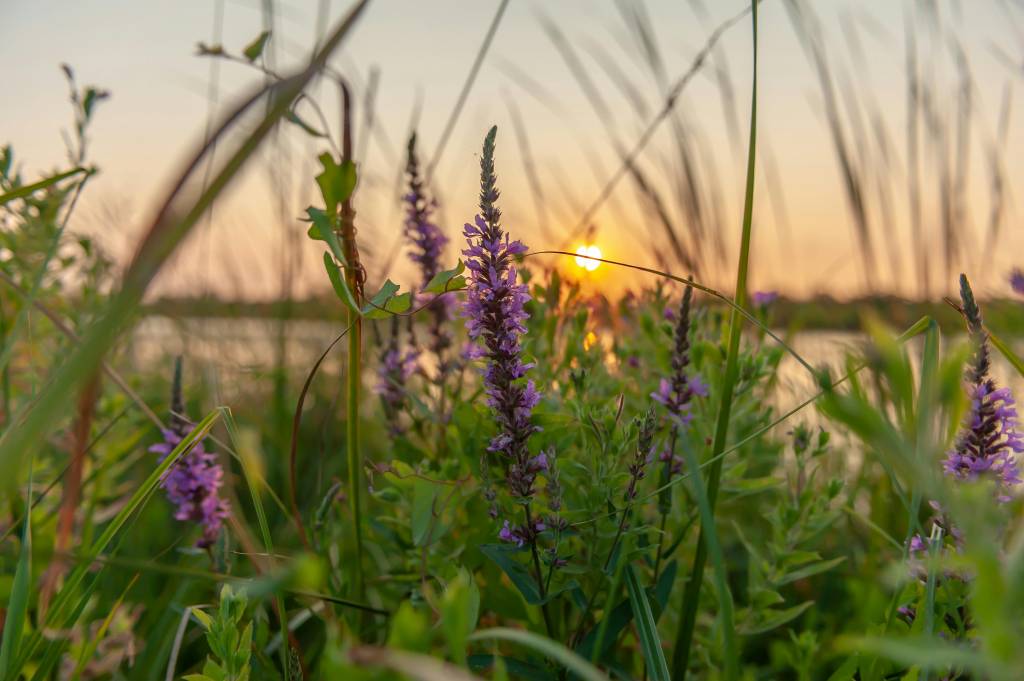
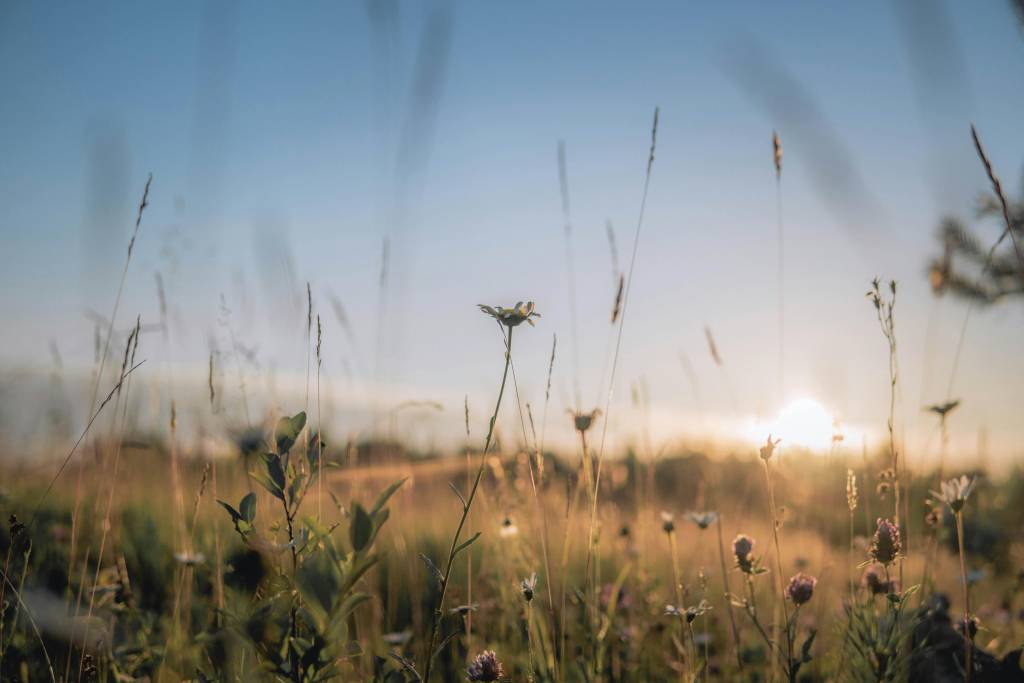
- Enhances Landscapes: Landscapes come alive during golden hour. Mountains, valleys, and fields get painted with this gorgeous warm light that brings out textures and creates stunning depth. Every blade of grass seems to glow.
- Less Contrast: Golden hour means no more harsh shadows and blown-out highlights that plague midday photography. Golden hour provides beautifully balanced light that captures detail in both your shadows and highlights.
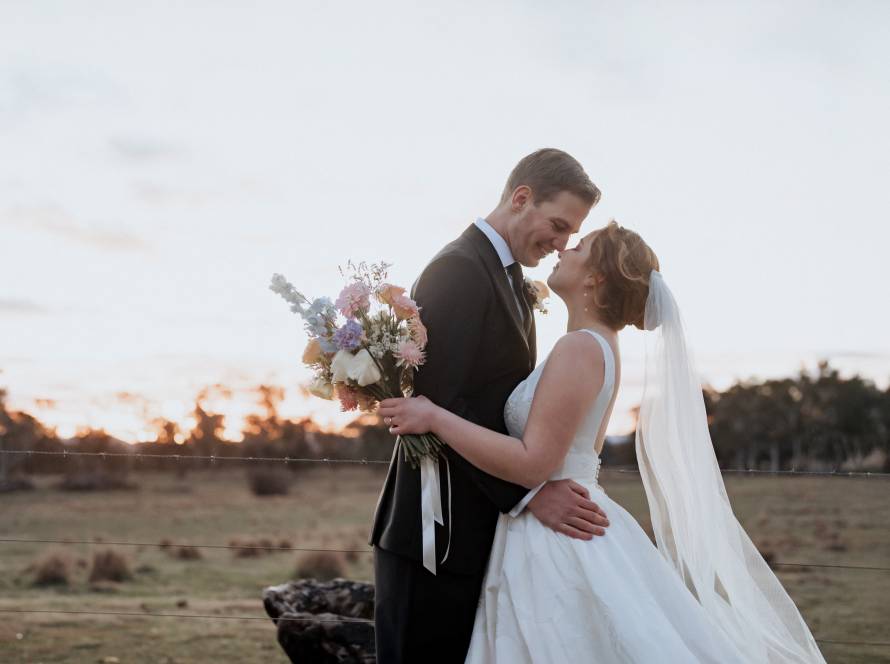
- More Flattering for Portraits: You can avoid the raccoon eye effect that comes from overhead lighting and instead get that gorgeous, even illumination that makes everyone look like they’ve had professional makeup and lighting.
Lighting Techniques for Golden Hour Photography
Once you have the perfect light, you can play with different techniques to get amazing results. Here are some of our most popular golden hour lighting tricks:
- Front Light: Position your subject facing the sun for a classic, warm, and evenly lit portrait.
- Backlight: Place the sun behind your subject to create a beautiful, hazy, and glowing rim light around their edges.
- Rim Light: This is a more dramatic form of backlighting where the light creates a bright halo effect around your subject, making them stand out from the background.
- Sun Flare: Intentionally allow the sun to peek into your lens by partially covering it with your subject, creating a striking sun flare effect.
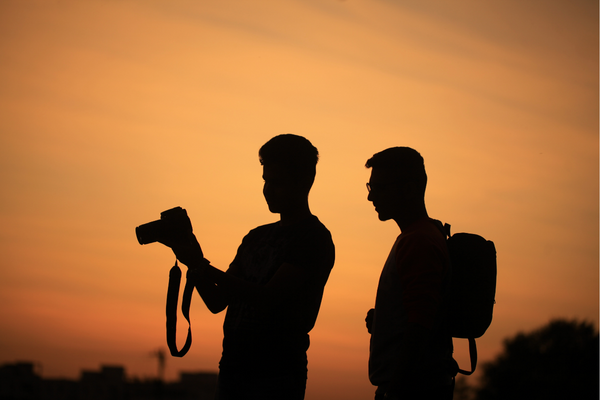
- Silhouette: Expose for the bright background, which will render your subject as a dark shape or silhouette, perfect for creating dramatic compositions.
Tips and Tricks for Golden Hour Photography

Want those golden shots every time? Try these tips:
- Plan Ahead: Golden hour passes away too soon. Know when it happens for your spot, and plan your shoot.
- Arrive Early: Get set up ahead of time so that you can catch the evolving light as it moves from warm to cooler tones.
- Use Apps: PhotoPills, Sun Surveyor, and Golden Hour Calculator are apps that could help you predict the timing and location of the sun.
- Experiment and Keep Shooting: The light is constantly changing, so take lots of photos from different angles and with various techniques.
- Don’t Forget the Blue Hour: Stay a little longer after sunset to capture the unique, cool tones of the blue hour.
- Include the Sky: Golden hour skies are often just as stunning as your main subject. Include them in your composition for maximum impact.
Mastering the Directional Lighting
As the sun moves quickly toward the horizon, you see a rapid change in the angle, colour, and intensity of the light. Stay alert and be ready to adapt your shooting position.
- Shoot in Manual Mode: This gives you full control over your exposure and helps you adapt to the fast-changing light.
- Use Reflectors or Fill Flash: If you’re shooting into the sun, a reflector or fill flash can help brighten your subject’s face.
- Play With Shadows and Lens Flare: Don’t be afraid to use shadows to create drama or to let a little lens flare add character to your shot.
- Use a Wide Aperture for Portraits: A wide aperture (low f-stop number) creates a shallow depth of field, blurring the background and making your subject stand out.
From Capture to Post-Production
The magic doesn’t end when you stop shooting. Post-production can bring your golden hour photos to life.
- White Balance Matters: Set your white balance to “Cloudy” or “Shade” to enhance the warm tones in your photo, or shoot in RAW mode for maximum flexibility in post-production.
- Work with the HSL Panel: Use the Hue, Saturation, and Luminance (HSL) panel in editing software to fine-tune the colours, especially the oranges and yellows, to get the perfect glow.
- Blend HDR Photos: For high-contrast scenes, consider shooting multiple exposures and blending them to create an HDR image that captures detail in both the bright sky and darker foreground.
Capture the Golden Glow of Your Love with Riss Photography
Golden hour, more than just a time of the day, is a mood, a magic, and the perfect backdrop to capture your love story. Whether you’re snapping portraits, landscapes, or candid street shots, the soft, warm light of the golden hour will enhance your images effortlessly.
At Riss Photography, Sydney’s most trusted wedding photographers, we capture your love in the golden glow, making your love shine brighter than ever. We turn every moment into a forever memory, promising photos that feel just as magical as the moment itself.
By understanding the unique qualities of the golden hour and applying a few techniques, you can take your photography skills to the next level and create pictures that are rich in colour, soft in light, and full of emotions. So, grab your camera and get ready to chase the light!
Frequently Asked Questions
- What time is golden hour in Australia?
Golden hour usually falls within the first hour after sunrise and the last hour before sunset. The exact timing varies depending on the season and location in Australia.
- What ISO should I use for golden hour?
For best results, start with a low ISO around 100 to keep your shots crisp and noise-free. As the light begins to fade, gradually increase it if needed—but try not to go beyond 800. Higher than 800 means that your images may become grainy and lose that dreamy golden glow.
- What is the difference between blue hour and golden hour?
Golden hour brings warm, soft light, perfect for glowing skin tones, dreamy backdrops, and flattering portraits. Blue hour, on the other hand, happens about 20–30 minutes before sunrise and after sunset, adding a cooler, bluish tone. It’s ideal for moody silhouettes, cityscapes, and dramatic skies.