Photography is an engrossing and fun practice. As the technical hindrance to photography is lessened drastically, amateurs and experienced ones have got much more time to accent how to take splendid shots. One can go ahead and begin clicking anything which piques your interest.
But as a photographer, there are plenty of things to take in. Below you will find invaluable photography tips that show easy ways to improve your photography techniques without any ado. So it is broken down into ten categories.
You may also like to read:
- 37 Wedding Photography Ideas to Inspire Your Own Forever Memories
- Wedding Photography Poses to Try in 2021
Photography Tips and Tricks
- Focus on the Eyes
Whilst for a portrait photo, eye contact is not evermore desirable, but sharp eyes obviously are. Manually choose an Autofocus point positioned over one of your subject’s eyes, or utilise the CF point to lock focus on his/her eye. Next, with the shutter button half-pressed, recompose your image prior to taking the photo.
2. Make the Most of Window Light

To take splendid shots, you don’t require a pricey home studio lighting kit. The window plus a reflector go a long way in getting amazing natural light portraits without breaking the bank. Make your model stand at an angle to the window. To open up any shadows on your subject’s face, utilise a reflector(silver or white). When compared to the white reflector, the silver one will provide a crisper quality of light while the effect can’t be as subtle.
3. Capturing Children
Capturing shots of kids are definitely fun but much demanding. Let the childrens’ photoshoot be brief and enjoyable.
The best way to get eye contact is to question whether they can see their reflection or not, in the front element of the lens. Make the best use of moments when the children remain still for a while, like when they are looking at a toy. Talk to them, just like you do with adults and after clicking some shots, show it to them so that they would have a feeling of involvement.
Night Photography Tips
4. Plan in Advance
To document lucid shots of the night sky, planning in advance goes a long way to getting splendid shots. First, it’s essential that you pick a place without much light pollution. This implies grabbing your equipment and shooting at the backyard far away from the bright city lights. Typically in main cities and towns, light pollution is at its worst. So this is why people typically get splendid shots when they capture at the countryside.
5. Choose Manual Mode and Not Auto Mode
6. Choose a Low ISO Setting
Food Photography Tips
7. Pick an Angle
Ponder over the food in advance- everything, its shape, height, size and what makes it unique. Then position your equipment where you feel best accentuates those qualities. Some dishes look the best when you capture them from a side and some look great when captured from above.
8. Surround Your Food With Props
When capturing from one side, make sure that there are a good foreground and background of the food to play with. Utilise that void spaces to narrate more of a tale. Gird your food with props and ingredients that best relate to it. Things like sauces, oil, cookware and spices can indicate how the food was prepared.
9. Natural is Best
Lighting is the key and getting hold of some tools to aid you to regulate it will take your food photography notches higher. Poor usage of light doesn’t just instantly turn off the audience but also ruin your story. So you need to make certain that light won’t distract to truly make your food shots shine.
You can make the most of a diffusor- just place it between the table and window. It goes a long way in enhancing the quality of light. Direct natural light can lead to bright highlights and dark shadows. But a diffusor soften these things caused by the natural light.
Product Photography Tips
10. Use Proper Lighting
The list tops off with Product photography lighting. Without proper lighting, both your product and backdrop won’t appear how they will appear to you in person. Without light, a white backdrop will appear grey, contradictory to how you thought it will be- white.

For product photo lighting, there are two choices- natural light and studio light. The product you are capturing, the purpose of the shot and the platform where you will market it will aid you to determine which lighting to settle for. Sunlight can work well for product shots featuring people, clothing, food items. Natural-looking shots also work well in social media as well like Facebook.
11. Know the Rule of Thirds
The rule of thirds when it comes to product photography is a potent tool. The rule emphasizes imagining your canvas as nine segments of equal size.
The rule of thirds is beneficial to decide where you need to focus on your product. Your aim is to have your piece positioned on the line, desirably at the point in which two lines cross each other.
12. Take Multiple Photos From Different Angles
Event Photography Tips
13. Use Low-light
14. Plan Your Shots

Expressions are key to good event photography. Even though you have to photograph the event environment, the shots of people are crucial and to take splendid shots of them, you require good expressions. Even photography is beyond aiming the gear and capturing. It’s about being on the lookout for powerful expressions and poignant moments and waiting patiently for them to appear. For instance, set up a shot and wait for someone to respond or grin.
15. Use an External Flash
An external flash can make a notable difference in darker settings and in medium light. A built-in flash of the gear will add head-on light which ruins the shot. In lieu of it, place an external flash above the camera and point it towards the up and a bit back with an attached small diffuser. This works wonders indoors as the light bounces off the ceiling, and it diffuses and makes it quite flattering on faces.
Travel Photography Tips
16. Experiment With Composition
With experimentation, you can always come up with great shot composition. Capture your first shot standing straight, then for that low angle, try to lie down on the ground. Capture from a high angle after climbing up something closer.
17. Choose the Right Lenses
Going places opens up a broad scope for the avid photographer to traverse. But your choice of lens will eventually make or break your photos. If you have no choice but to choose one lens, then settle for a fast zoom like 18 to 200 mm or 28 to 300 m. Suppose you have an extra room or prefer a wider choice, then go for any one of the lenses like:
- Portrait prime lens(50 mm or 85mm)
- Telephoto(70 or 200 mm)
- Wide-angle lens10-24 mm)
18. Fill and Use the Frame
Discover novel ways to fill your image or else make a frame for the model which you are shooting. This is quite easy- look around the surrounds of your subject prior to the shoot. Take a look through your viewfinder and discover some secluded gems that up your shot.
Portrait Photography Tips
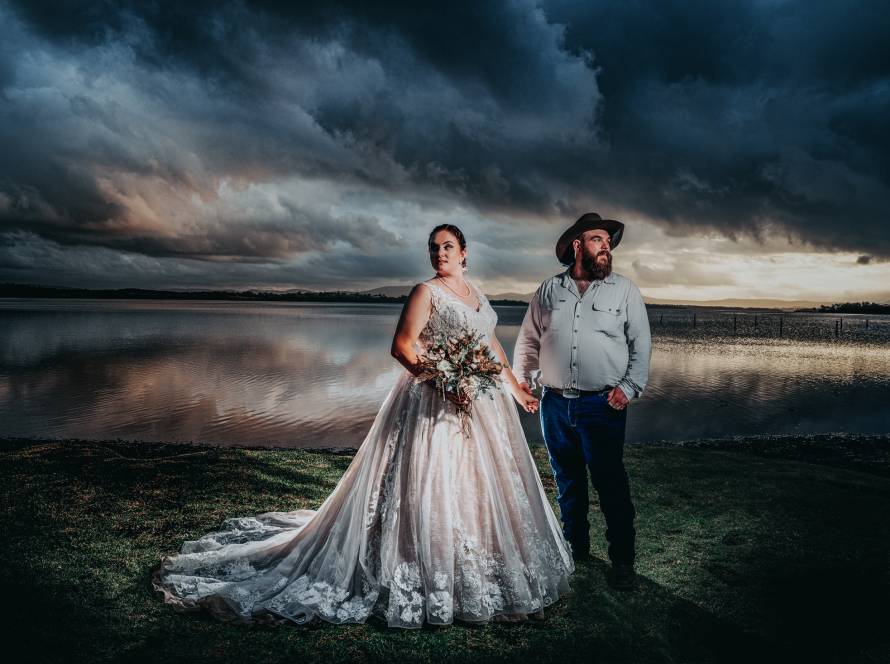
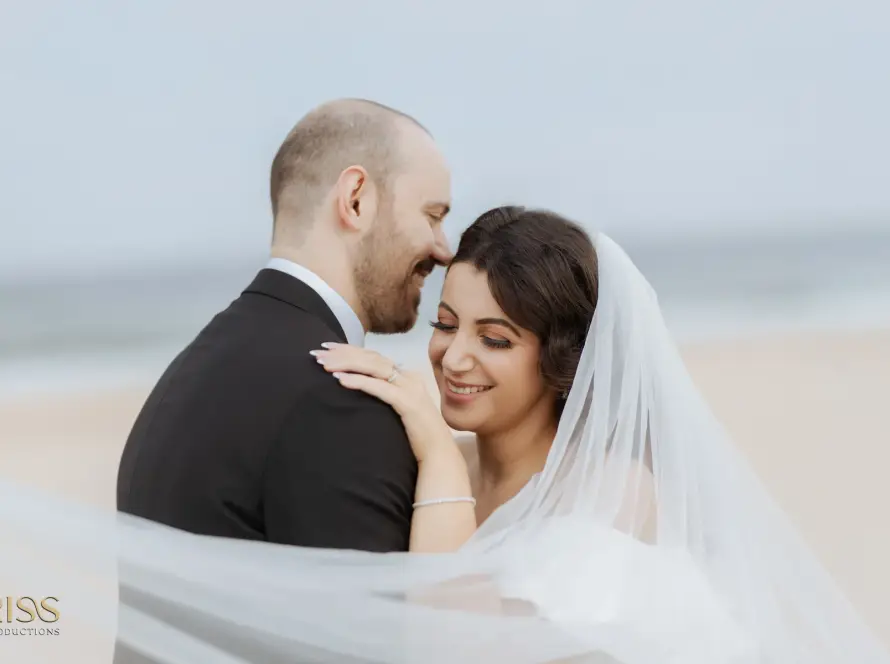
19. Choose the Perfect Backdrop
When it comes to portrait photography, the backdrop is just as important as the model. The attention will be taken away from the subject if the backdrop is distracting or busy. Instead, you need an uncluttered and neutral backdrop which won’t divert the viewer’s attention from the model.
But you don’t have to necessarily pick an entirely plain background. For example, an attractive fence or wall can add a touch of colour or even texture. Another way is to incorporate an object in the backdrop for an added context or interest.
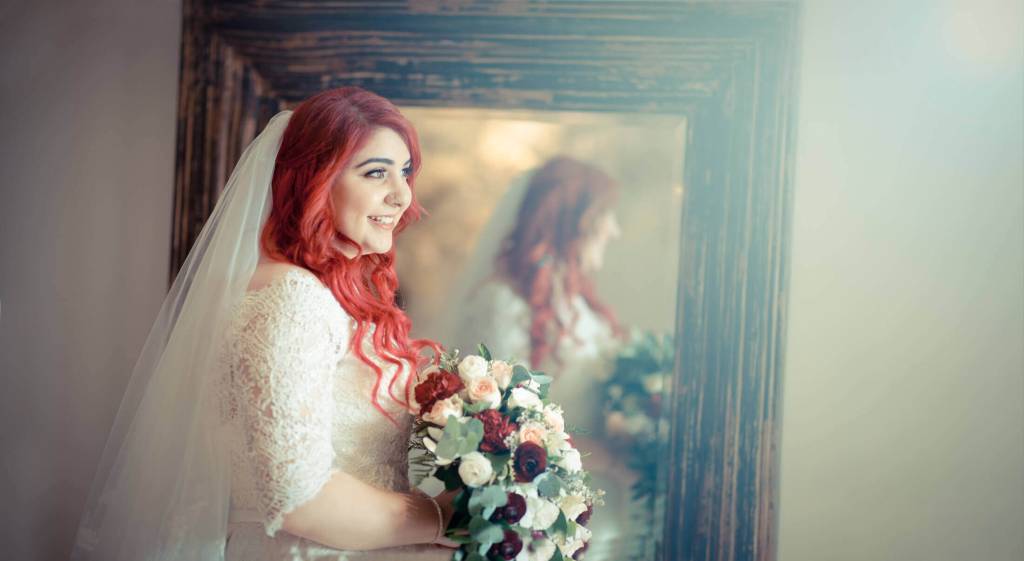
20. Prepare Your Subject for Session
Even if you use the most pricey, best gear, you may get mediocre results if the person being captured isn’t at ease, relaxed, and ready.
Being captured is more of a stressful and unnatural activity for that person, so your task as a photographer is to make the whole session fun, stress-free and simple.
21. Use a flattering focal length
Focal length has a significant influence on your shots as it introduces a foreseen amount of image distortion that can go good or bad to your portraits. So just check out the lens barrel to discover the focal lengths offered by your lens. It is expressed in millimetres- for instance, 28mm, 50mm, 100mm. But you may find that there is a single focal length if you are using a prime or fixed lens. For portrait photos, the typical focal length is 80mm. Some photographers choose 100mm or more.
Car Photography Tips
22. Shoot at Night
23. Pan for Motion Blur
24. Be Mindful of Reflections

You need to look for what reflects in the vehicle. Take a brief look all over you, your car and take note of what reflects off the surface of the car. The reflecting nature of cars is like that of a mirror. So the car should be within an open space, for instance, a field. Also, avoid capturing the car with any trees or buildings. But make sure not to include your reflection on the car, just as avoiding buildings or trees. You can make the most of a tripod and timer to avoid your reflection.
Cake Smash Photography Tips
25. Keep Props Simple
Sometimes you may go overboard with birthday props if the parents are as excited as the baby themselves. But if you don’t keep props simple, then the photos may seem much busy after the cake smash.
Besides the cake, pick a simple backdrop with limited props(stick to one or two). Be mindful that you may want to capture various angles, so you may need to set your props for some close-ups.
26. Colour Coordinate

Begin with one item that you love to coordinate with the rest of the items in the photoshoot. It can be as simple as the headband that your child is wearing. Then incorporate hues that coordinate or compliment with that chosen colour. Take note of the colour of the cake frosting as well. (Even though white frosting seems perfect, it turns out that white is the most difficult to capture).
27. Encourage Shy Babies
If someone is to place a huge cake before you, in all likelihood, you will dig in, right? But this is not always the case with babies. Even after the first few minutes, if the child doesn’t look intrigued, then give some frosting to taste. After they realise the thing before them, most children will dig in gladly.
Sunset Photography Tips
28. Pick the Right Time
 Firstly, know the nature of sunsets. Just minutes prior to the dipping of the sun beneath the horizon, the light will be golden and warm. This is ideal for portraits and landscapes immersed in gleaming sunlight. However, it’s only subsequent to the disappearance of the sun beneath the horizon that the sky begins to bath in oranges and reds, which makes sunsets striking. Make sure that you’re all set for the session after the sun disappears finally, as you are left with just 15 minutes in which sunlight is at its best.
29. Choose a Perfect Spot
Certainly, skies in itself are beautiful. However, what truly makes a sunset shot one-of-a-kind is the context encompassing it. It can be structures, people or landscape in silhouette. One perfect choice is something lit, like a landscape or streetscape lighting, which gleams in conjunction with the sky. Whatever you opt for, the key is to incorporate something besides the splendid sky if you want to make an absolutely beautiful shot.
30. Underexpose

This is one of the key sunset photography tips to capture the sunset. Underexposing the sunset a bit can make the hues look quite defined and rich. The whole scene can seem quite dramatic. Use manual mode for underexposing and pick a quick shutter speed. Alternatively, you can capture in aperture priority and utilise exposure compensation.
The key to nail photography is to practice. It will get you ahead in photography. The more you practice, the better your shots can be. And it will be much easier to click the shots in your mind. Also, don’t forget to choose your favourite tip from this blog post, step out and start shooting.